May 8, 20264 min read
How to Make Cold Brew Coffee at Home (Without Buying a Gadget)
You do not need a cold brew maker, a special pitcher, or a nitrogen infuser. A mason jar, a filter, and 12 hours is enough. The step-by-step method plus ratio guidance, storage, and how long it keeps.

The internet will tell you that making cold brew at home requires a dedicated cold brew maker, a purpose-built pitcher with a mesh filter, or a nitrogen infuser. None of that is true. Cold brew is the lowest-effort coffee method that exists. You need a container, a filter, and about twelve hours. If you have a mason jar and a coffee filter or a fine-mesh sieve, you already have everything required. We have been making cold brew this way for years, and the result holds up against the version you pay six dollars for at a specialty coffee shop. The method below is the stripped-down version. No gear, no gadgets, no excuse not to start tonight.
Start with coffee beans. Use whatever you already drink. The only recommendation that matters is grind size: you want coarse, roughly the texture of raw sugar. If you have a burr grinder, set it to its coarsest setting. If you do not, ask the barista at your local shop to grind it for cold brew. Most Williamsburg and Bushwick roasters will do this without blinking. Avoid blade grinders if you can. They produce uneven particles, including too many fines, which over-extract and make the batch taste bitter and muddy. The brew ratio that works for most home batches is 1 part coffee to 8 parts water by weight. For a standard quart mason jar, that is roughly 100 grams of coffee to 800 grams of water. If you like it stronger, push to 1:7. If you prefer it lighter, 1:10. The ratio is forgiving. The drinkable range is wide.
Put the ground coffee in the jar. Pour in cold or room-temperature water. Stir gently so all the grounds are wet. Put a lid on it and leave it on the counter or in the fridge for twelve to sixteen hours. Longer steeps produce a heavier concentrate with more body, but the difference between twelve and sixteen hours is smaller than most people claim. Twelve is enough. Twenty-four is fine too. Somewhere past that, you start getting into over-extraction territory, where the cup tastes hollow and astringent instead of smooth. After the steep, strain it. Line a fine-mesh sieve with a paper coffee filter or a cheesecloth and pour the contents of the jar through it into a clean container. This takes a few minutes because cold brew filters slowly. Resist the urge to press or squeeze the grounds. That pushes sediment through the filter and clouds the result.
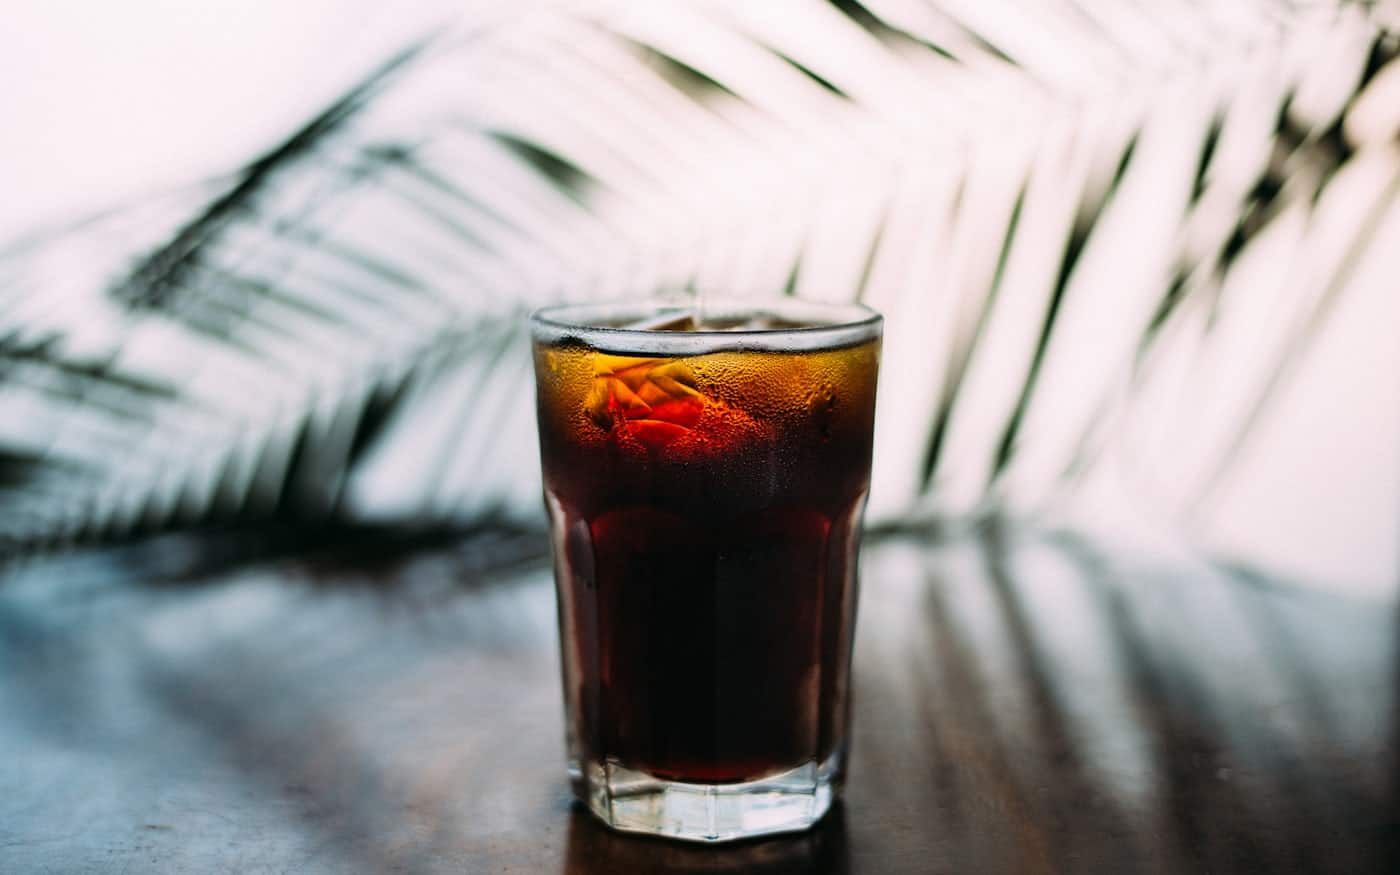
What you have now is a concentrate. It will be stronger than what you want to drink straight. Most people cut it with equal parts water or milk, and then add ice. If you want something closer to what you get at a shop that serves nitro cold brew, the trick is not a nitrogen infuser. It is dilution. Start at 1:1 concentrate to water, taste, and adjust. The concentrate keeps in the fridge for up to two weeks. After that, the flavor starts to flatten and pick up stale, cardboard-like notes. In practice, a quart jar rarely lasts more than a few days in a household that drinks coffee daily. If you want to extend the life, freeze some of the concentrate in ice cube trays and use the cubes to chill future batches without diluting them.
The one upgrade worth making is a cold brew pitcher with a built-in mesh filter. It does not make better cold brew. What it does is make the straining step cleaner and faster, which means you are more likely to actually make it instead of thinking about it and ordering delivery instead. The Takeya and OXO models are the ones we see most often. They run under forty dollars and last for years. If you are already making cold brew in a mason jar every week, the pitcher saves paper filters and reduces mess. If you are not there yet, the jar method is still the right starting point. Do not buy your way into a habit you have not confirmed you will keep.
The beans you choose matter more than the equipment you brew them in. A medium-roast specialty coffee bean with chocolate or nut flavor notes will give you a cold brew that tastes familiar and forgiving. A lighter roast with fruit or floral notes will produce something brighter and more complex, but cold brew mutes those delicate aromatics more than hot methods do. If you want to taste what a light-roast bean can do in cold water, seek out a roaster who actually cold-brews their own lighter offerings. Greenpoint has several shops that fit this description. The best cold brew in Brooklyn guide covers the specifics. For a broader view of how cold brew fits alongside other home methods, the home brewing methods overview ranks every common method by effort and cup quality.
The short version: weigh your coffee, use cold water, wait twelve hours, strain through a filter. Drink it within a week or two. If you end up making it every week, consider a pitcher with a built-in filter. If you do not, you spent nothing and lost nothing. The gear page has the grinders and pitchers we recommend for people who are ready to invest. The rest of you already have what you need in the kitchen cabinet.
Frequently asked
- How long does cold brew last in the fridge?
- The concentrate keeps in the fridge for up to two weeks, though the flavor flattens after that. To extend it, freeze some concentrate in ice cube trays and use the cubes to chill later batches without diluting them.
- What is the coffee-to-water ratio for cold brew?
- The standard ratio is 1 part coffee to 8 parts water by weight, or about 100 grams of coffee to 800 grams of water in a quart jar. Push to 1:7 for stronger concentrate or 1:10 for lighter.
- How long should you steep cold brew?
- Steep for 12 to 24 hours. Twelve hours is enough and 24 is fine too; past that you start to over-extract, and the cup turns hollow and astringent.
- Why should you avoid a blade grinder for cold brew?
- Blade grinders produce uneven particles and too many fines, which over-extract and make the batch taste bitter and muddy. Use a burr grinder on its coarsest setting instead.
Worth a visit
Coffee shops that fit this story.